A new dad finder for the new home.
A new dad finder for the new home.
Three years after making my Dad Finder, I needed to update it to reflect my new commute. Rather than just print a new face for the clock, I decided to make a new version of Dad Finder with a new form factor and updated hardware.
I had picked up a frame from Ikea that is deep enough to conceal some hardware. I originally planned to use it to embed a few LED matrixes behind some artwork to display messages, but decided to use to mark my location on a Cold War era Soviet made map of the Bay Area.
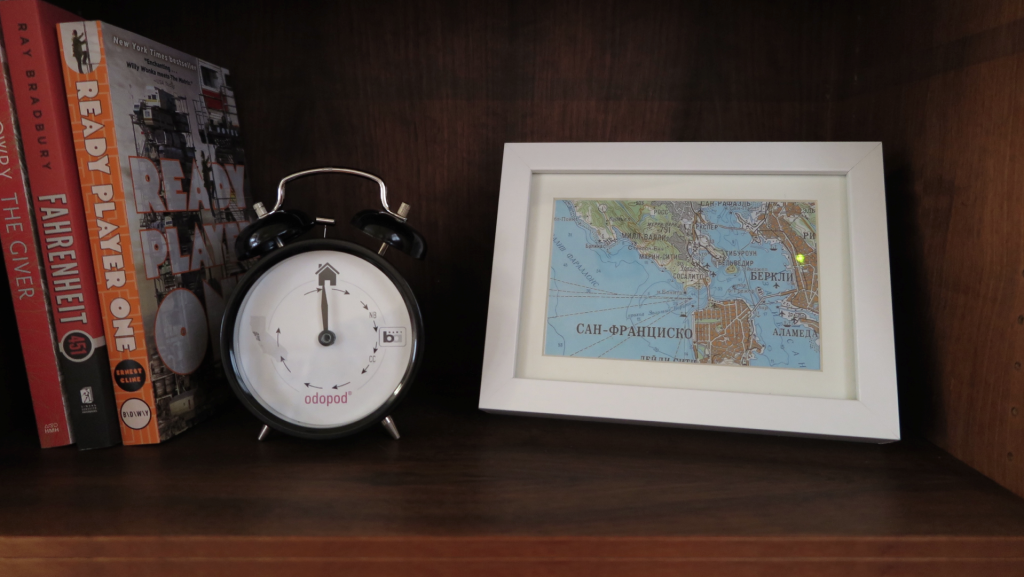
Dad Finder v1(left) and v2(right)
For the hardware, I chose the Particle Photon which connects with the Paticle.io cloud platform. This was a radical simplification over the first Dad Finder which used five different components to connect to the internet and expose and API for me to hit from my mobile app. Additionally, the Particle platform has the advantage of being supported by IFTTT, so I no longer needed to use my own custom app to trigger updates as I move through different geofences.
Behind the map is a series of bi-color LEDs, one per location that I want to display on the map. On entering a geofence, I light the LED green, on exiting a geofence, I light the LED red.
The code for the Photon is available on GitHub.
After using the new map for a few days, I received some complaints that it no longer made any sound. In the first version, the clock’s hand is moved by a hobby servo that makes a signature sound when moving the hand to a new position. The LEDs updated soundlessly and it turns out that my family missed having the audio cue that let them know that I was on the move.
To remedy the situation I added a small piezo speaker to the picture frame and added the ability to play melodies as the different zones are activated. We decided that some snippets from classic video games would do the trick. At present it plays the Mario 1-up sound when it starts up and either the first 4 notes or all 12 notes from the Zelda found item tune. Expanding the set of melodies so that each geofence has its own sound is on the todo list.
I really enjoyed working with the Particle Photon hardware. The whole platform is quite easy to use and it is nice not to have to think about connectivity at all. To pass messages between IFTTT and my Dad Finder, I subscribe two functions in my Photon code (lines 9 and 10 in the source code). To trigger the function, I set up a series of recipes in IFTTT each defines a geofence and publishes to either the updateExisting or updateEntering event with Data that identifies the correct LED to light within the data of the event.
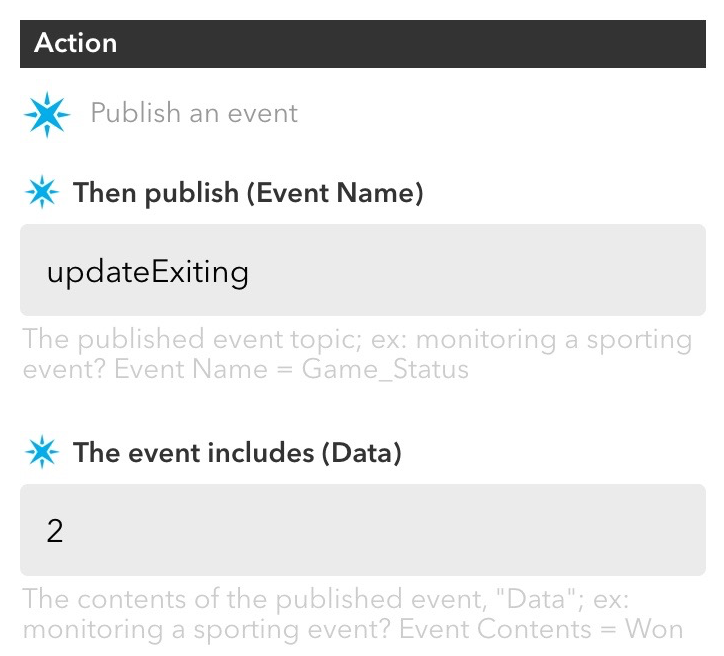
Screen capture of example recipe from IFTTT
These events automatically trigger the assigned functions within the Photon code (lines 33 and 40 of the source code).
This is radically more simple than working with the Xbee radio which required coding and configuring many more pieces including the Arduino board, the radio module, the hub, the Digi cloud service and an App Engine app to trigger the events reported from my mobile app. What took many weekends to set up on version 1 of Dad Finder took only a couple hours for version 2.

The components used to connect v1 (top) and v2 (bottom)
However, it did take a bit of time and trial and error to get things stable on the Photon. Originally I was trying to use an LED matrix and backpack from Adafruit, but using that in combination with the cloud platform seemed too much for the Photon. I found myself restarting the board often to reestablish connectivity with the cloud. Even after simplifying the code to its present state, I have had to update the firmware to improve reliability.
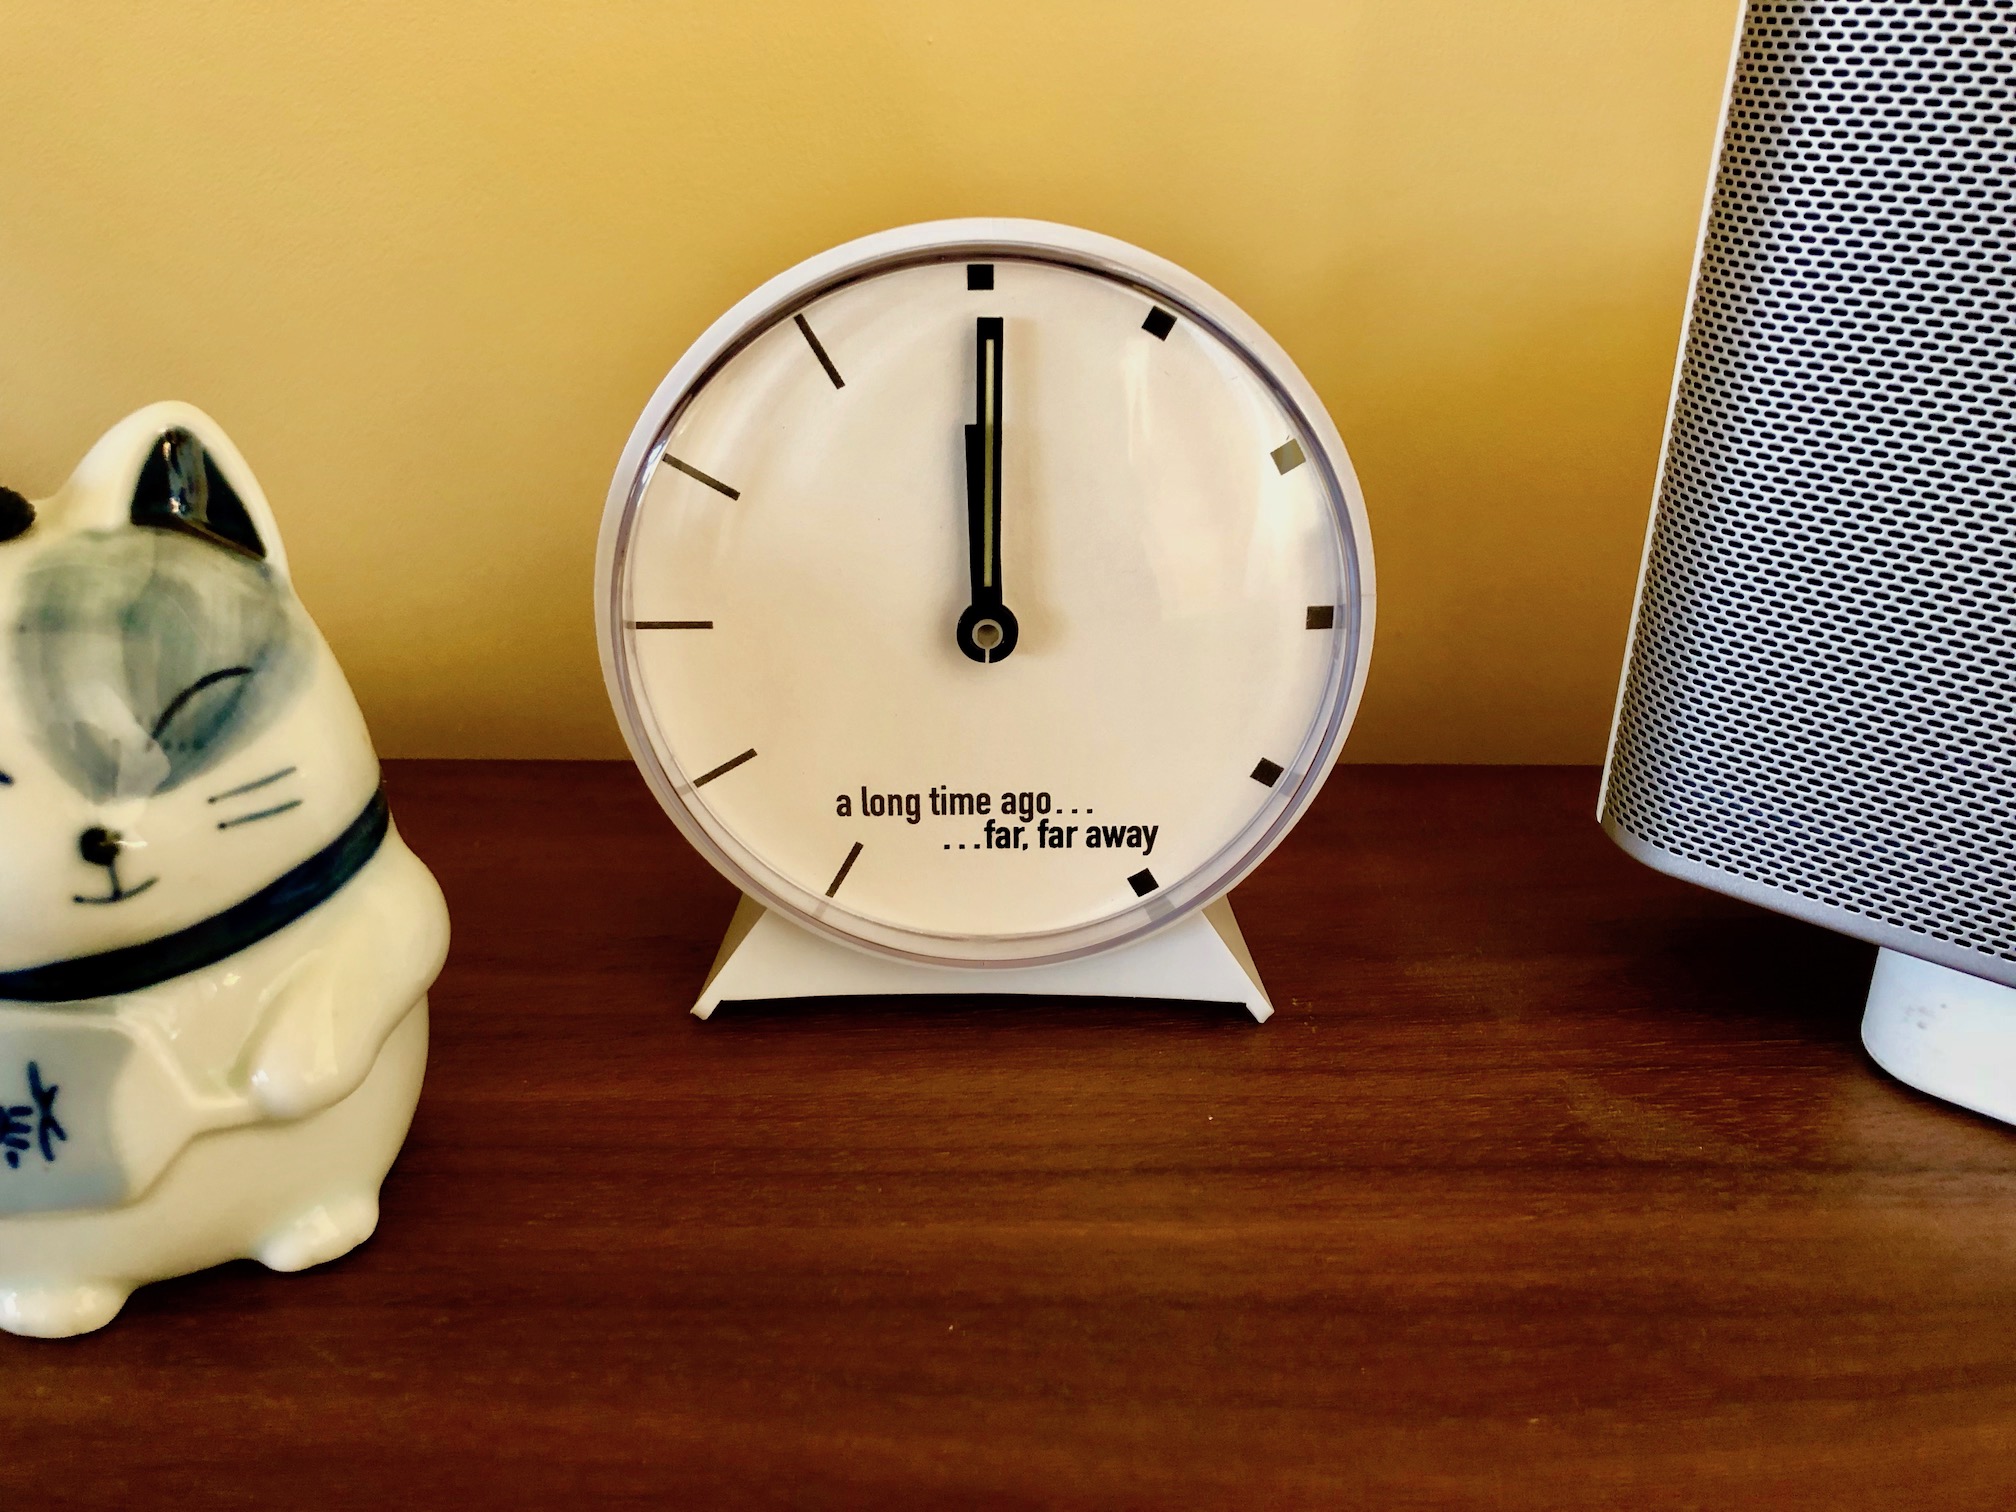
This Ikea clock was modified to display my location for my family at home. It is nice that they can check up on me without checking online. The kids are especially enjoying it.
I use 5 different geofences in an iOS app, monitoring entrances and exits for key points on my daily commute (and the bay area as a whole). The app reports the triggers to a Google App Engine app. The minimal time allowed by iOS is enough to get the call through to the server. GAE then passes the events onto the clock via the iDigi web service.
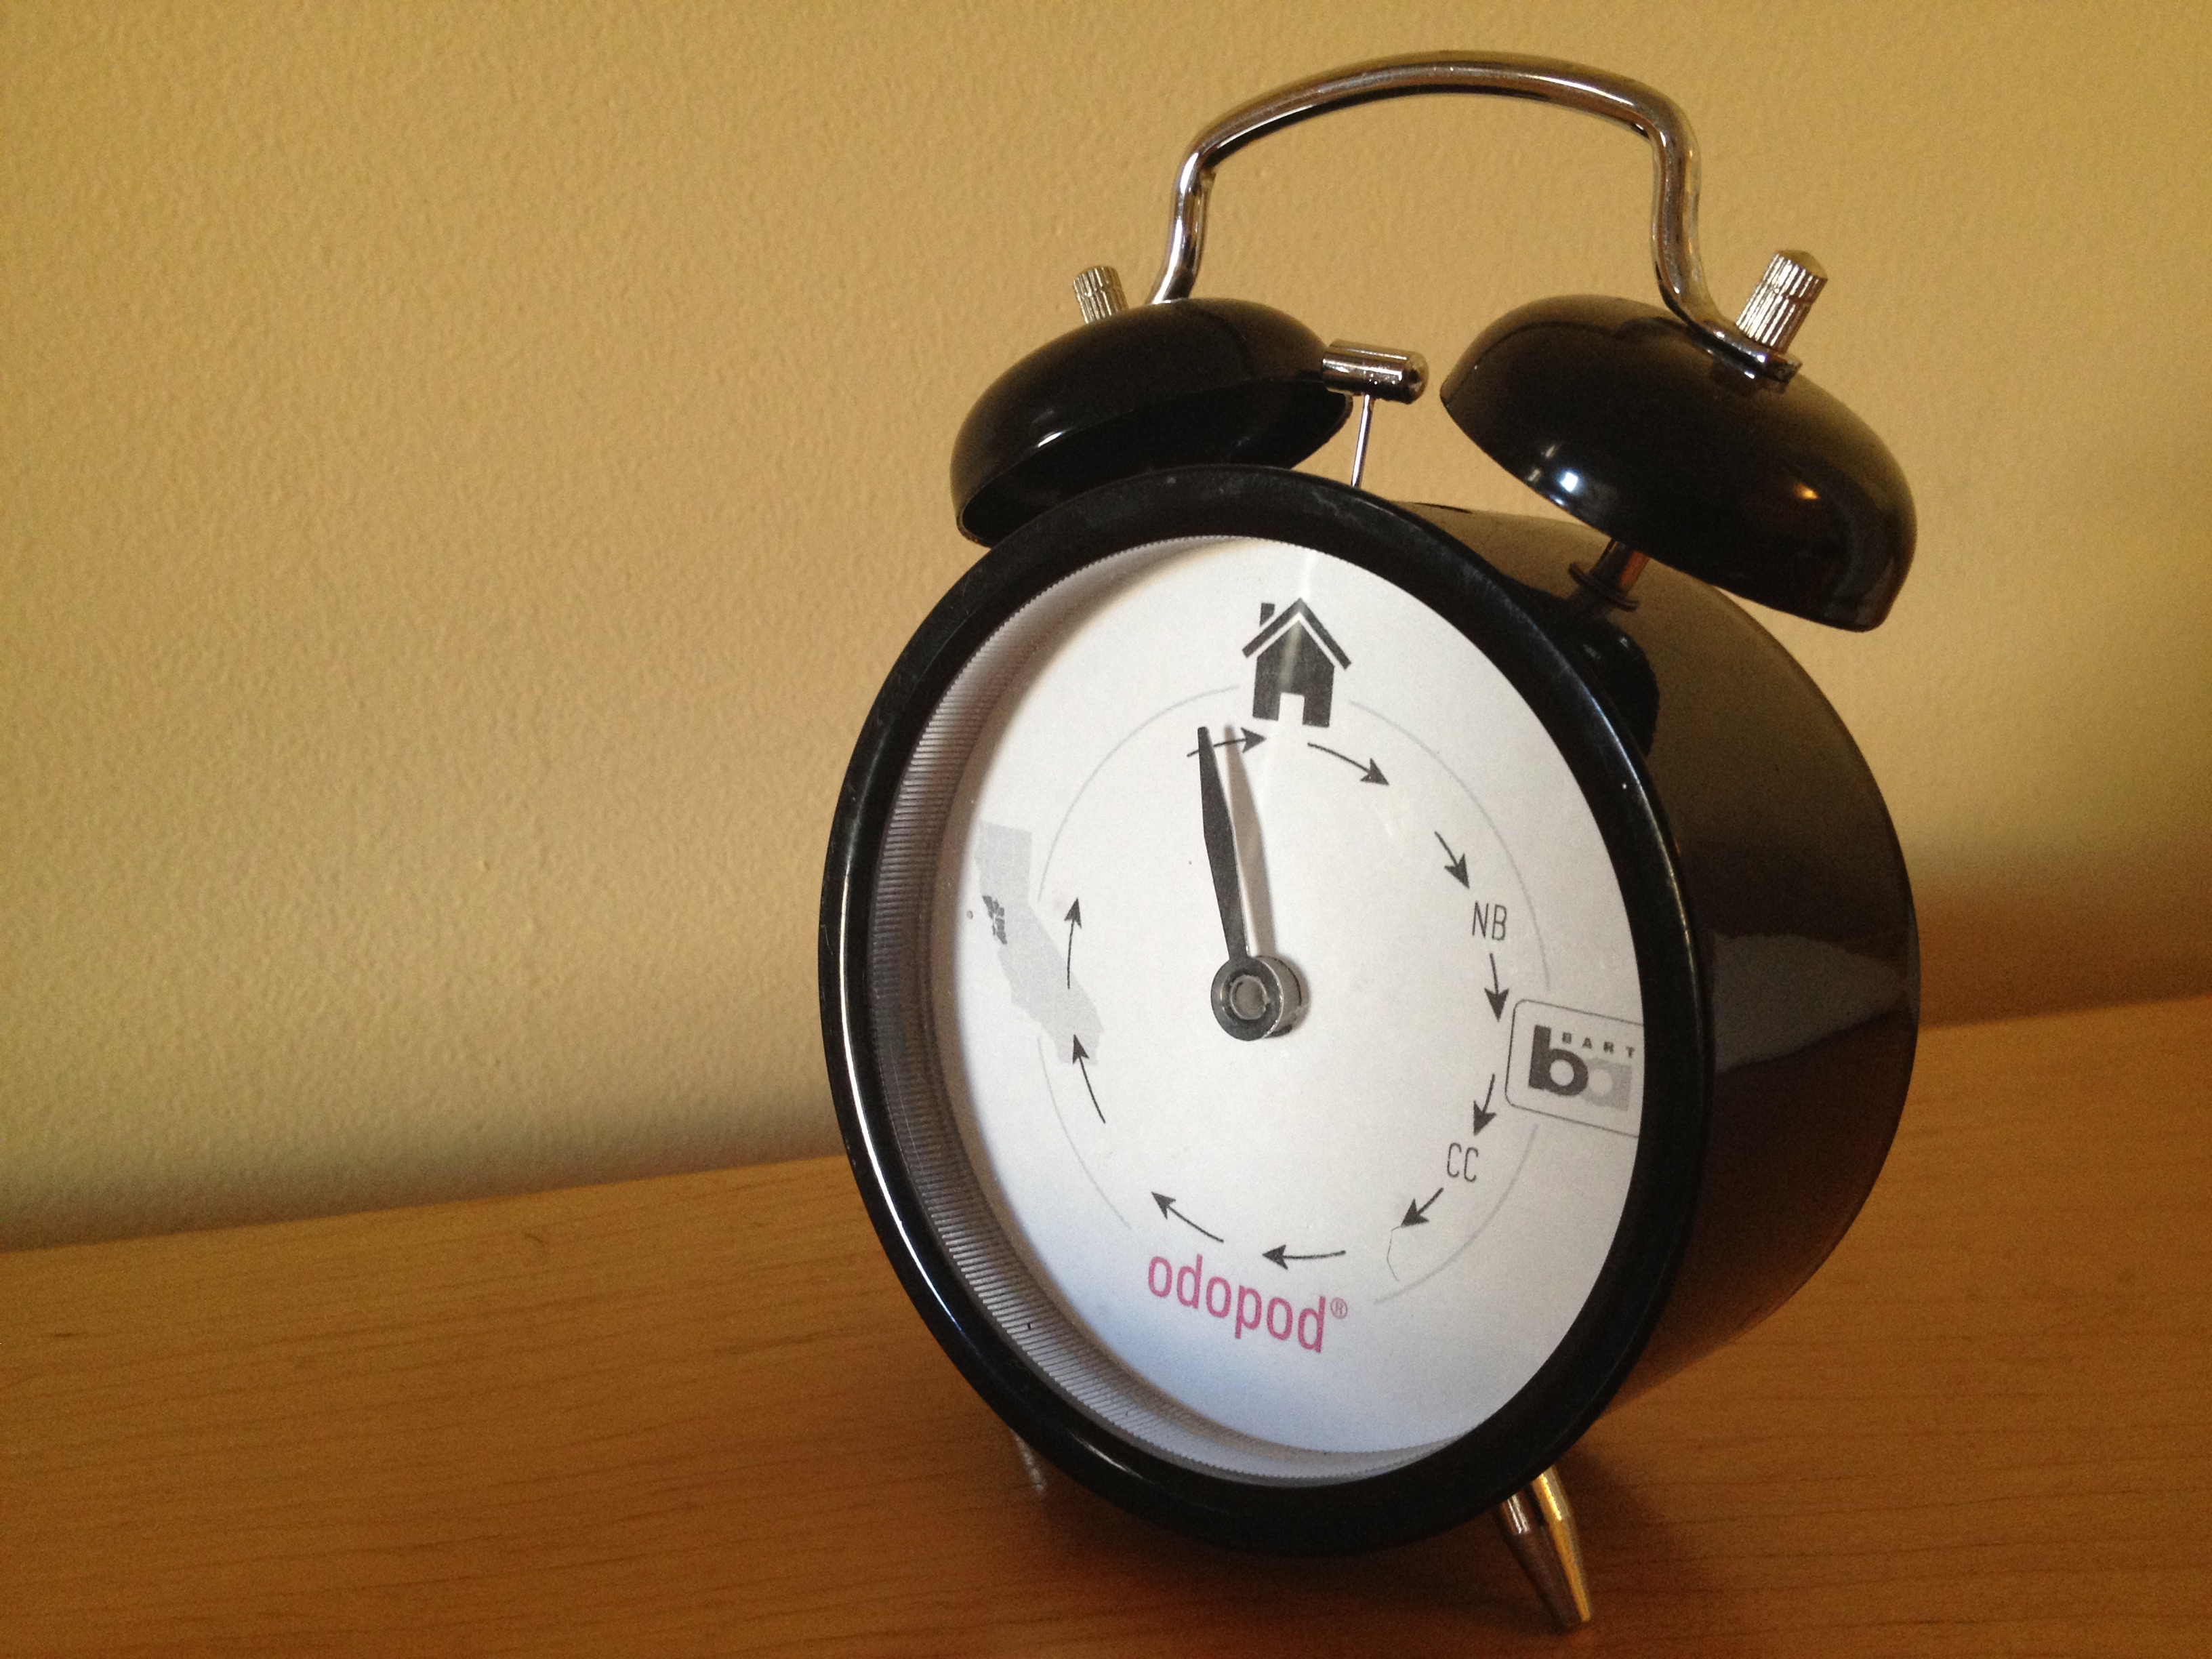
Inside the clock, I use a Fio and Xbee radio paired to my ConnectPort x2. iDigi is able to push messages through the ConnectPort to the Xbee and update my status.
Original project date: Dec, 2012.