
Each year, I try to create an activity for visitors to enjoy building at the SF Sunday Streets events. This year I drew inspiration from tensegrity structures like this one that I found online.
I designed a smaller version of the structure that can be cut on laser cutter using 1/8 inch plywood. My goal was to create something that could be assembled without glue and that I could be made in bulk without too much hassle.
With this design, four kits can be cut from a piece of 12″ by 12″ stock.

To assemble the kits, five lengths of string are used to connect the center arms and the four corners of two platforms. Strings are knoted to the corners of the bottom platform and a friction cleat is used to allow the strings to be easily connected and disconnected to the top platform. The allows you to experiment with different length of string and switch easily between the more captivating two anchor configuration, and the more stable four anchor configuration.
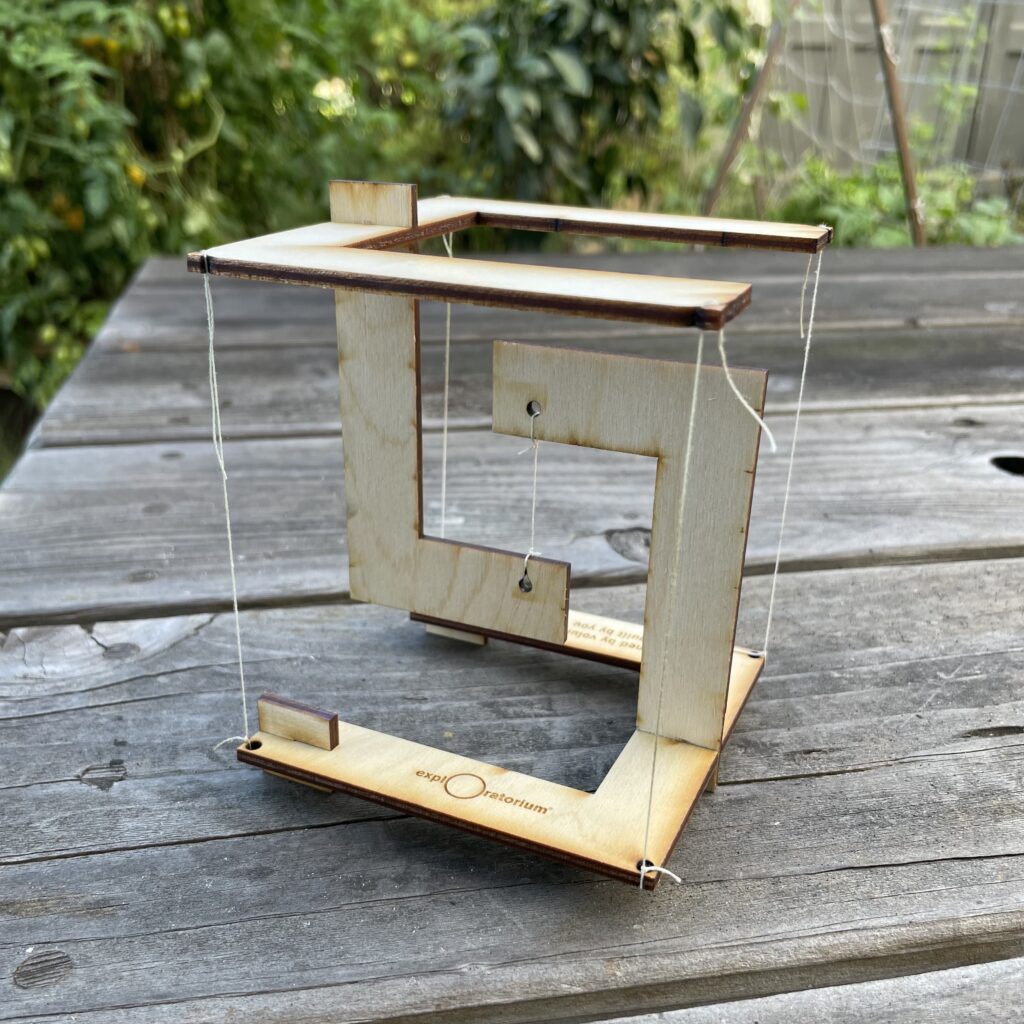
I also created a larger version of the structure to use in discussion about how it works. Each string in the larger version is connected via magnetic anchors to make it easy to remove any of the strings and discuss the role they play in holding up the top piece.

All in all, the kit was well received and led to many great discussions with folks of all ages.
At first glance the structure is a bit mysterious, but when you get a chance to play with it, it becomes fairly intuitive how it works.
At this year’s Sunday Streets, the Exploratorium booth is sharing a zoetrope activity. If you want to make your own zoetrope from paper, you can follow this tutorial. The design is based on the dimensions of this commercial product. The diameter of the zoetrope’s base determines the length of the animation strip and the number of slots in the outer wall determines the number of images (one image per slot).
Once you make your zoetrope, you can make some animations using the templates linked to later in this tutorial.
As I made this zoetrope, I experimented with different sizes of slots and different colors of paper for the wall.
Darker paper worked better for me. The contrast between the paper of the wall and the drawing made it easier for me to see the drawing. I had best results with a sturdy black paper from an art supply store. Construction paper should work really well too.
For the slot size, I found that wider slots tend to let though more light as the zoetrope spins, making it easier to see the image. However, wider slots also mean you are seeing the image for a longer time with each opening and this can cause the image to blur.
When you build yours, try different colors of paper and different sizes of slots. What gives you the best results? You can also make a larger zoetrope by adjusting the measurements. Does a bigger zoetrope work better than these smaller ones?
The Exploratorium has a many zoetropes, praxinoscopes, and other amazing exhibits on animation. If you find frame-based animation like this interesting, I highly recommend a visit.
This activity involves cutting cardboard and paper with a craft knife. The sharper the better for clean, safe cuts. Parental supervision is necessary.
I used a craft knife and metal straight edge for all my cutting.

Your base should look like this after step 3.

Your paper should look like this after step 9.

Once the slots are cut out the wall looks like this.
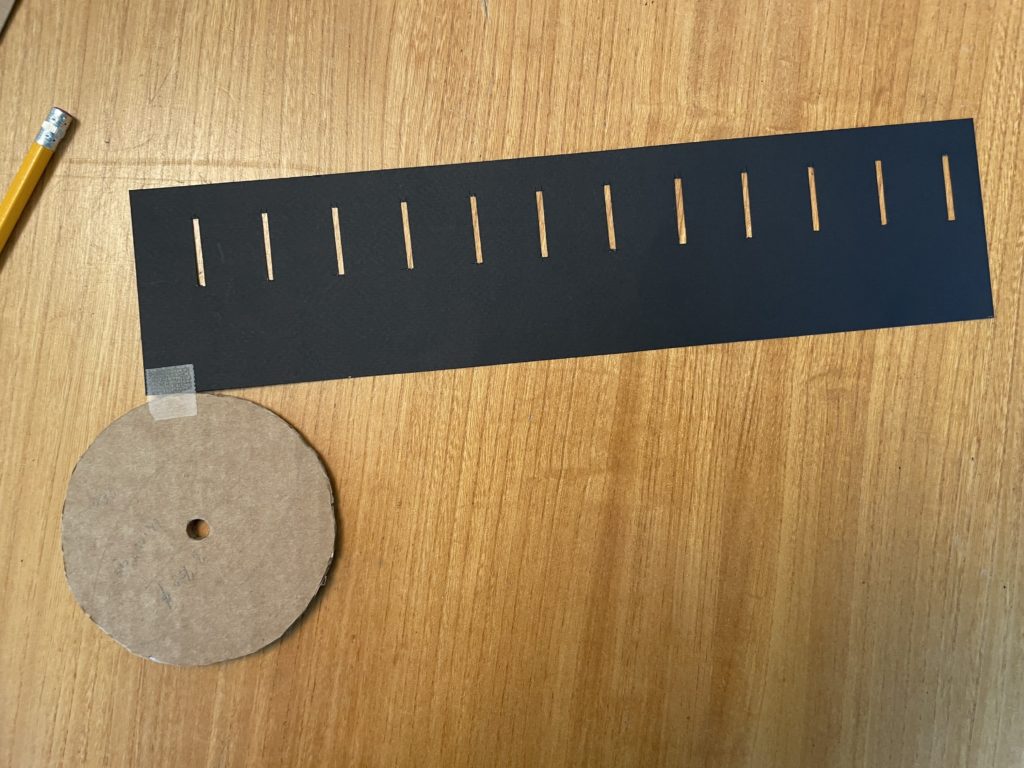
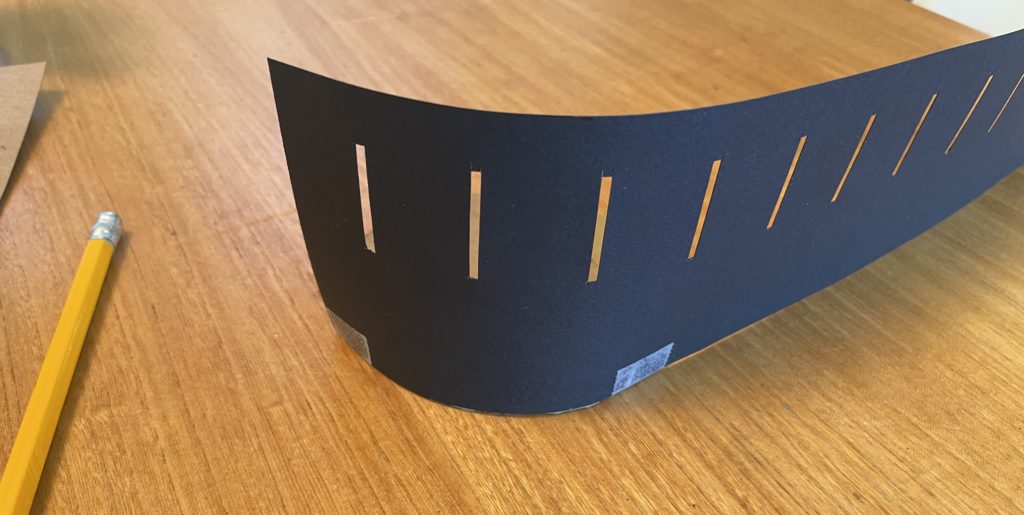

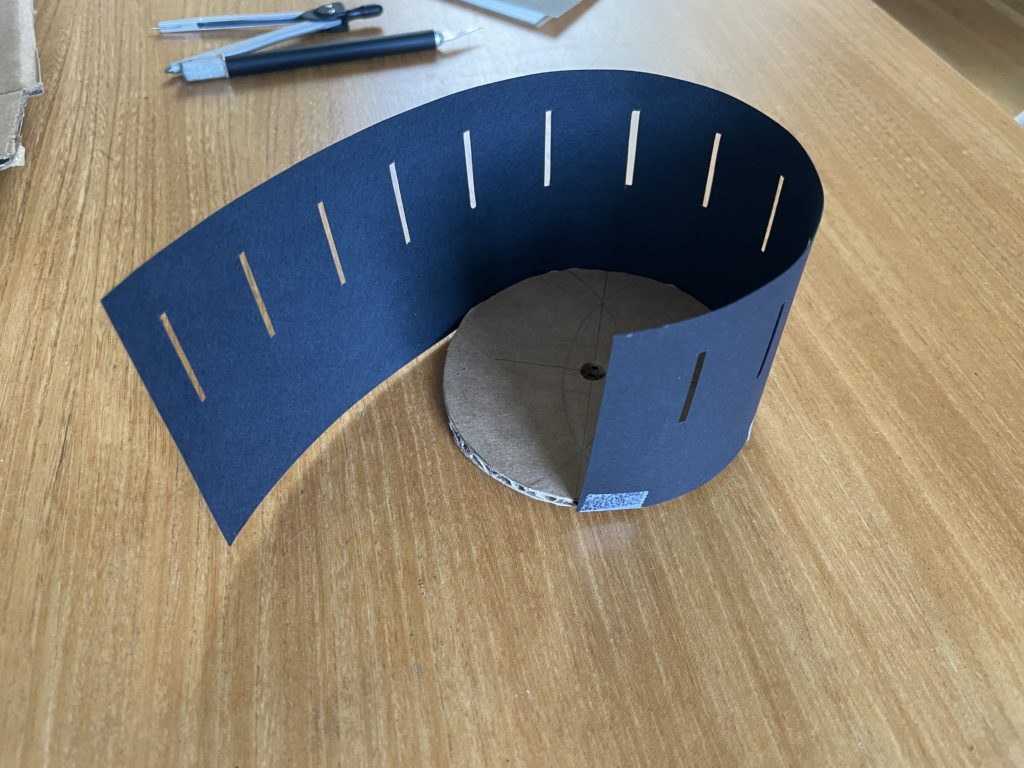

When your outer wall is fully attached to the base, it should look something like this.

That’s it, your zoetrope is assembled!
If you have a drawing you made at Sunday Streets, you can skip to the next section for some tips on viewing it on your zoetrope.
To draw your own, download this PDF and print it on legal sized paper or tile it across two letter sized pieces. I used the free Adobe PDF reader to print on tiled pages.
If you want to color some existing animations, try this PDF.


Hold your zoetrope so the sun is striking the image.

To animate the drawing, look through the slots while spinning the zoetrope.
When inside, you can hold the zoetrope directly below a light. Desk lamps work pretty well.
Try spinning your zoetrope at different speed and in different directions until you find what works best for your drawing.
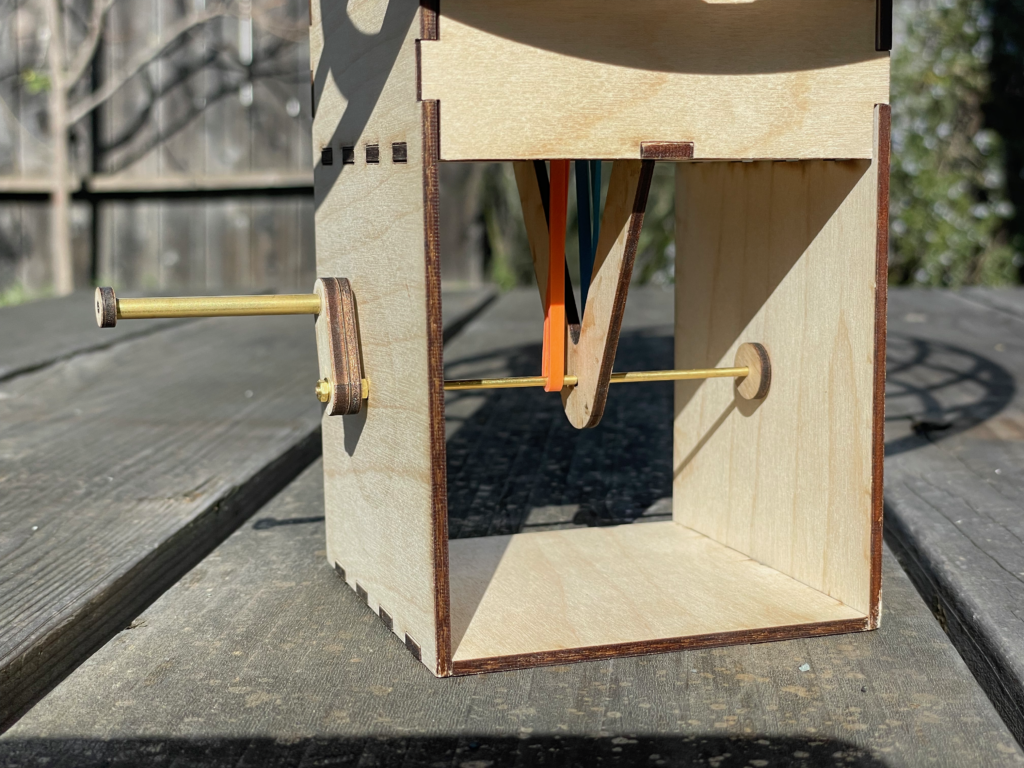
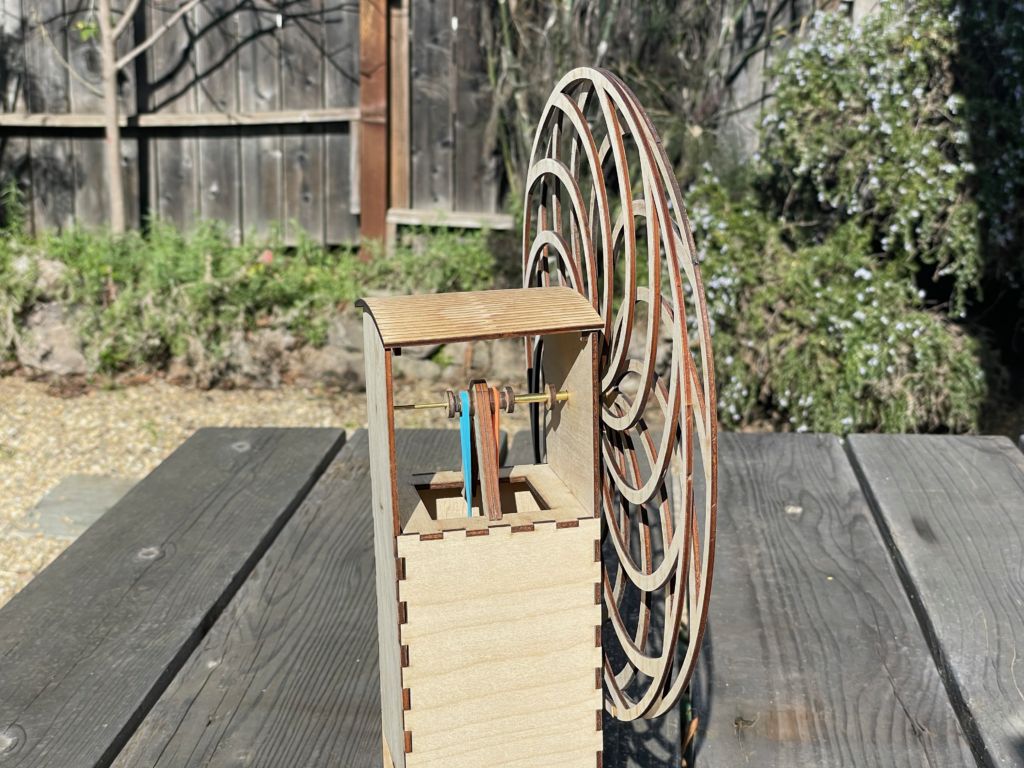
After the first weekend of building automata kits at the Sunday Streets SF, I decided to make another that was larger and more eye catching.
This version builds on the windmill which used a rubber band to transfer the motion of the crank to the axel. In this case there are two bands and two axels. By twisting the bands in opposite directions as they are connected to the axels, they spin in opposite directions.
At this size, the elasticity of the rubber bands and friction in the axels lead to varying speeds. It seems that the bands can stretch for a bit, building up enough energy to spin the axel, then they spin for a while before losing momentum. At first I was frustrated by this effect, but I could not solve it by using different sized bands. As I showed it around, folks seemed to like the variety… so there you go. It’s a feature, not a bug.
